Artificial Intelligence (AI) has become a key technology in various industries because it enables automation, optimization, and enhanced decision-making. OpenVINO (Open Visual Inference and Neural Network Optimization) is a powerful toolkit developed by Intel. Its purpose is to accelerate deep learning inference across a wide range of Intel architectures, including CPUs, GPUs, VPUs, and FPGAs. In this blog post, we will explore how to install OpenVINO on Brainy Pi and run some demos. This will allow you to get started with AI development for industrial products, thus leveraging the potential of OpenVINO for your specific needs.
Installing OpenVINO on Brainy Pi
To begin, we need to install OpenVINO and its dependencies on Brainy Pi. Open a terminal and run the following command:
This command will install OpenVINO and the necessary OpenCV development files on your system.
Compiling Demos
Once OpenVINO is installed on Brainy Pi, we can proceed to compile the demos. These demos provide a great starting point for understanding and exploring the capabilities of OpenVINO. Follow the steps below:
-
Set up the OpenVINO environment by sourcing the
setupvars.shscript: -
Clone the Open Model Zoo repository, which contains the demos, using the following command:
-
Build the demos by executing the
build_demos.shscript:
This will compile the demo applications and make them ready for execution.
Running the Demos
With the demos compiled, we can now download the required models and run them using OpenVINO. Follow these steps:
-
Download the models needed for the demo by running the following command:
-
Download the test video
-
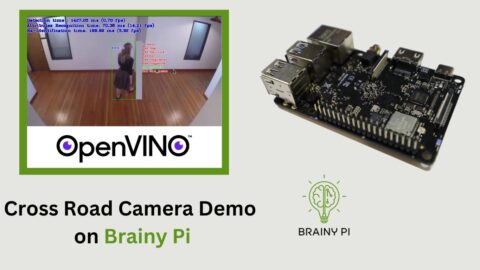
Once the models and the test video are downloaded, you can run the object dection demo using the following command:

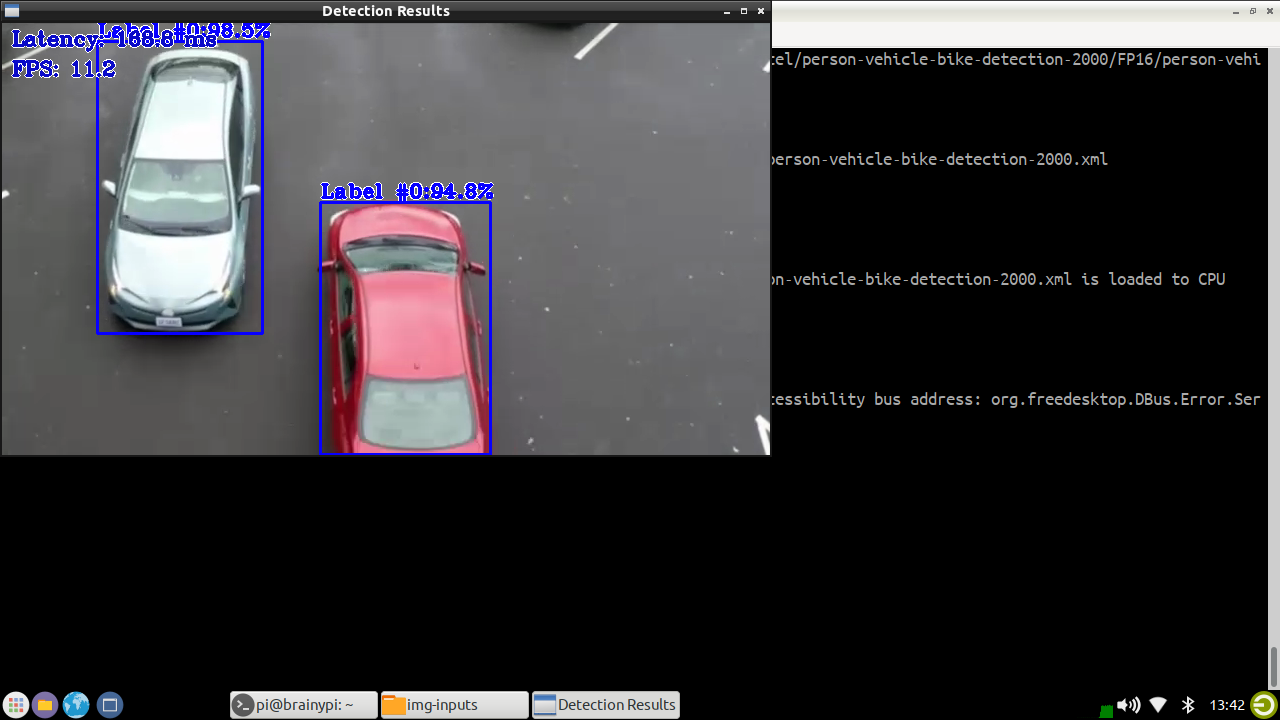

