Cacti is a powerful open-source software application designed for network monitoring and graphing because it utilizes Simple Network Management Protocol (SNMP) to collect data from network devices and presents it in visual graphs and charts. With its web-based interface, system administrators can easily create and customize graphs, monitor specific metrics, and set threshold-based alerts. Furthermore, Cacti stores collected data in a database, enabling historical analysis and trend tracking. In addition to these features, it offers user management and access control features, making it an ideal tool for network administrators. So, let’s delve into exploring Cacti on Brainy Pi and discover its full potential!
Hardware Requirements
Before getting started with Cacti installation, ensure that your Brainy Pi meets the following hardware requirements:
Brainy Pi board
Ethernet connection to the network/Internet
Install Required Packages
To set up Cacti on your Brainy Pi, you need to install the following packages:
Apache Web Server:
Start the Apache service:
PHP:
MySQL:
Set a password for the MySQL root user:
Installing Cacti on Brainy Pi
To install Cacti, run the following command:
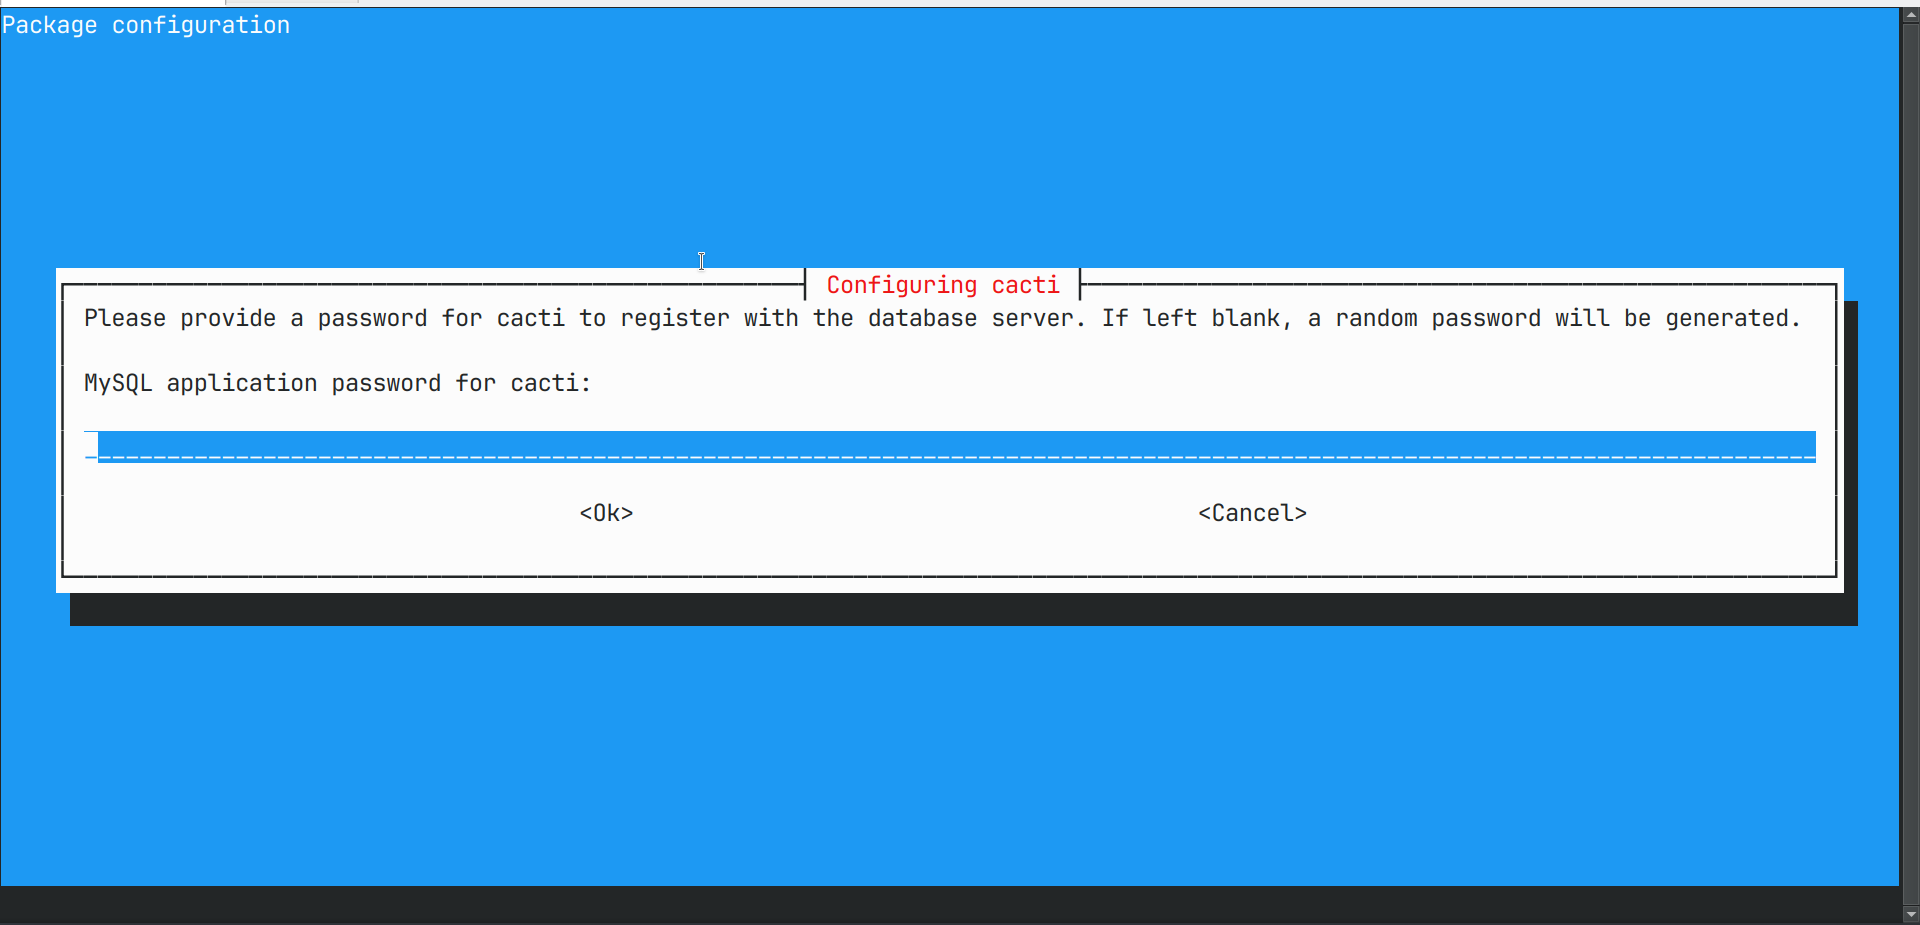
During the installation, you will be prompted to configure Cacti.
Set a password as prompted.

Choose Apache2 as the web server.
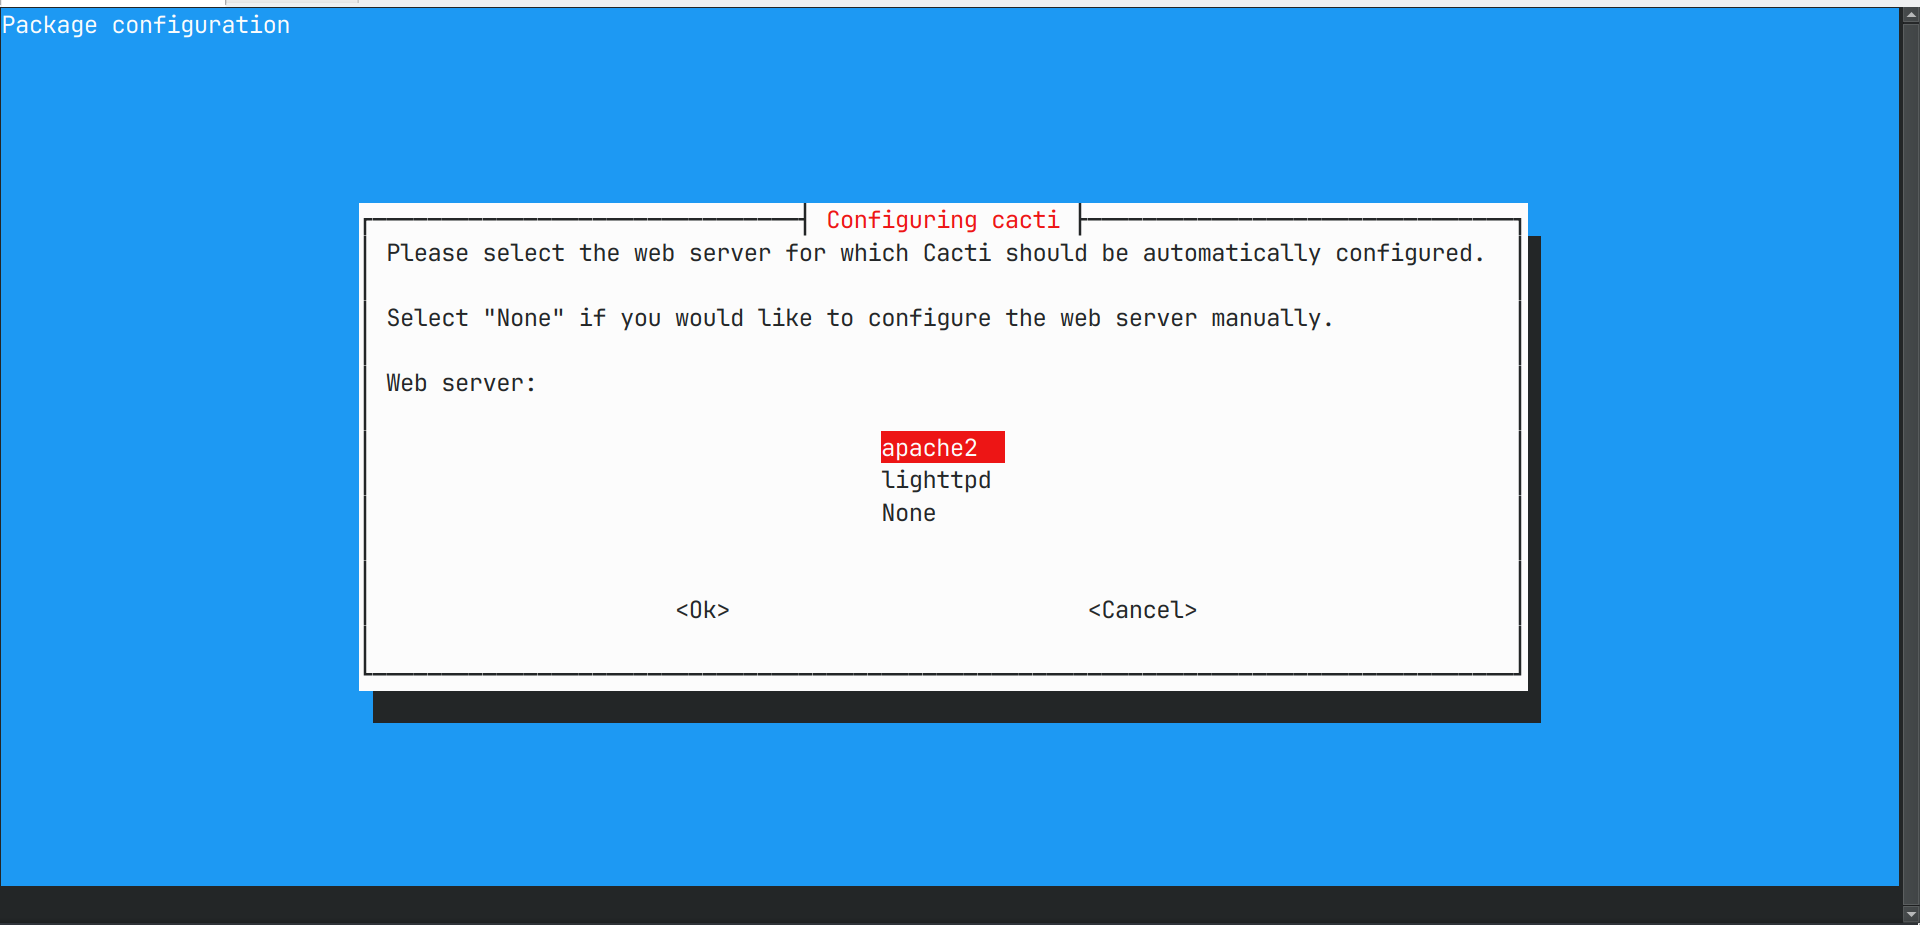
Cacti will automatically configure itself based on the selected options.
Security Settings for Cacti
To access Cacti through a web browser, you need to configure the security settings. Edit the Cacti configuration file:
Add the following lines to the file:
Restart the Apache service:
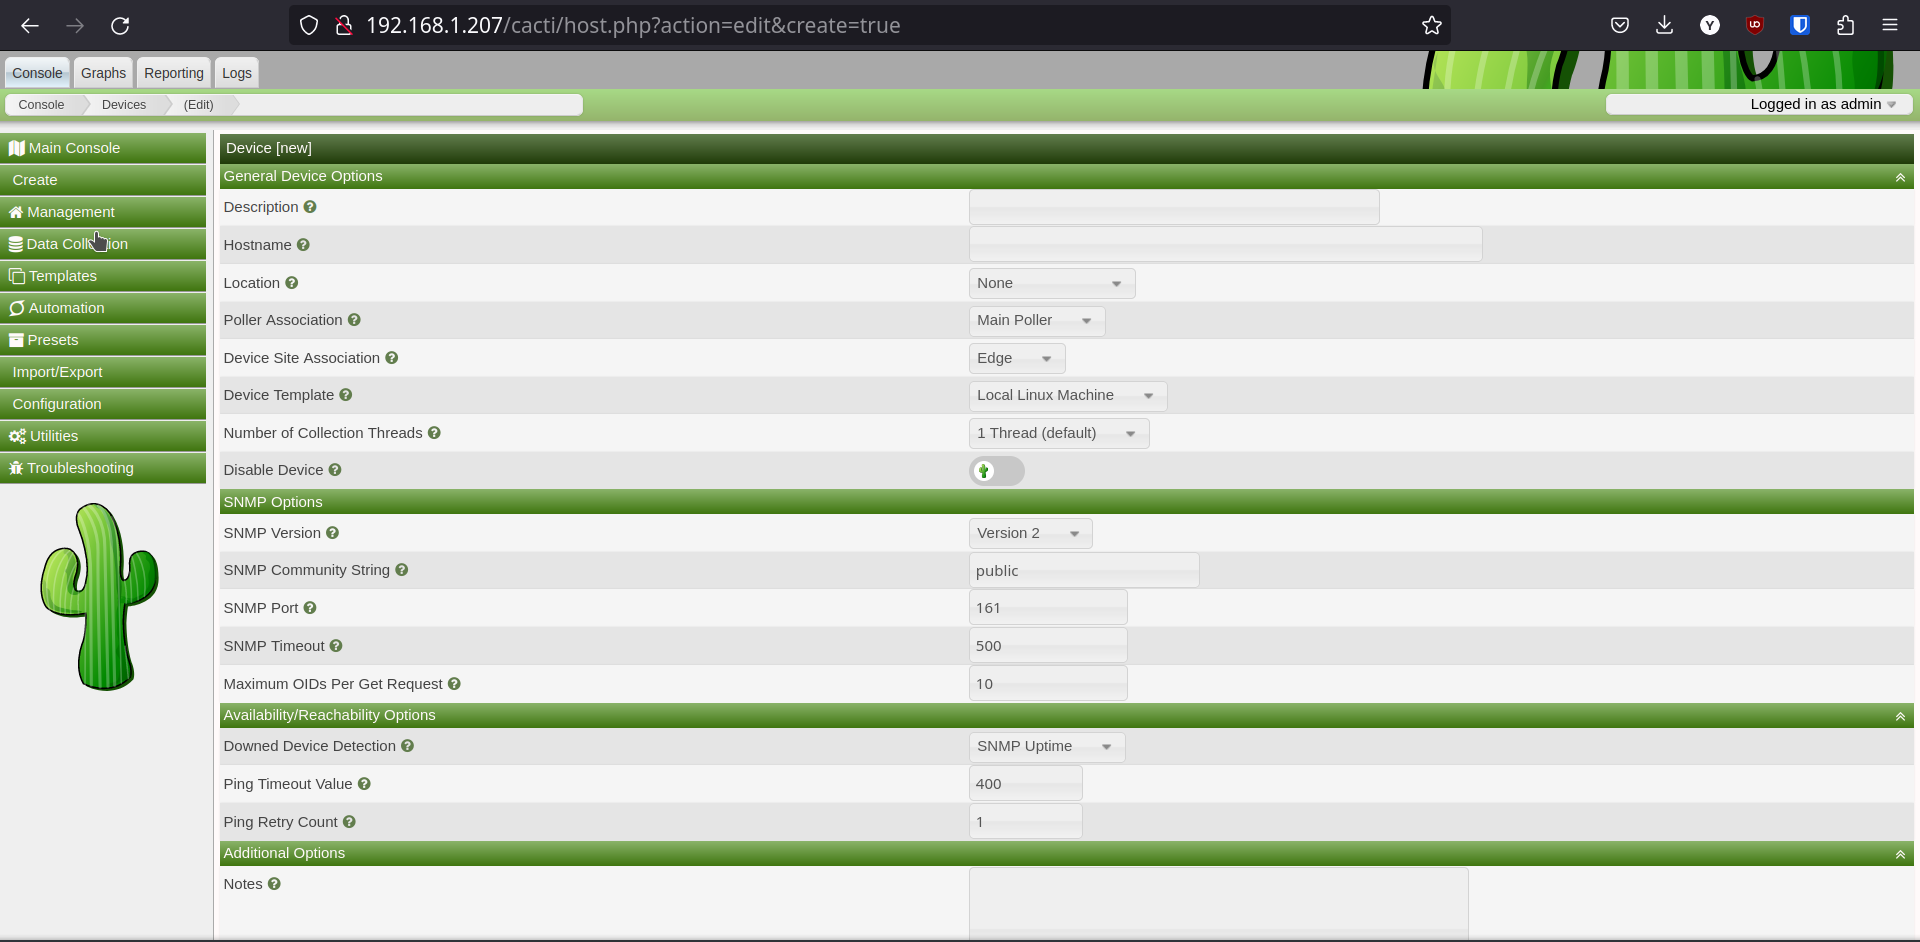
Adding a Device (Server) to Cacti
To monitor a server using Cacti, you need to add it as a device in the Cacti interface. Follow these steps:
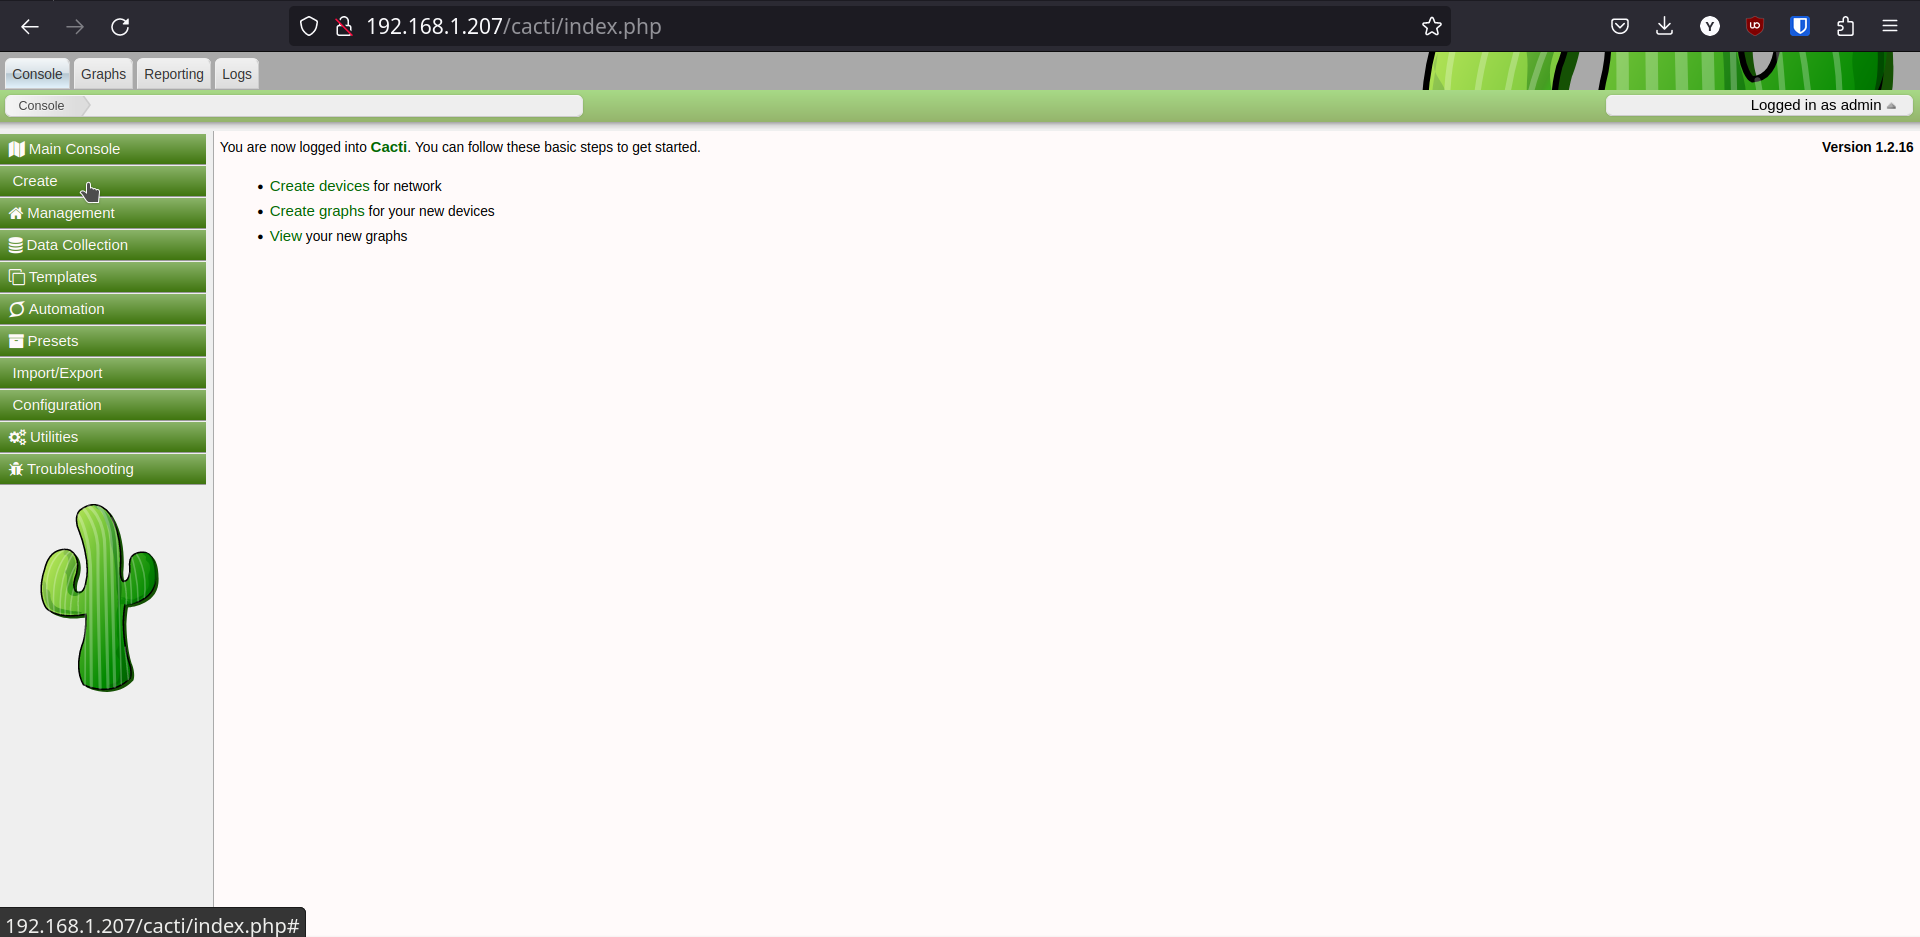
Log in to the Cacti web interface using your credentials.
Go to “Create” in the menu.
Fill in the required information, such as IP address, SNMP community string, and device type.
Click on create.

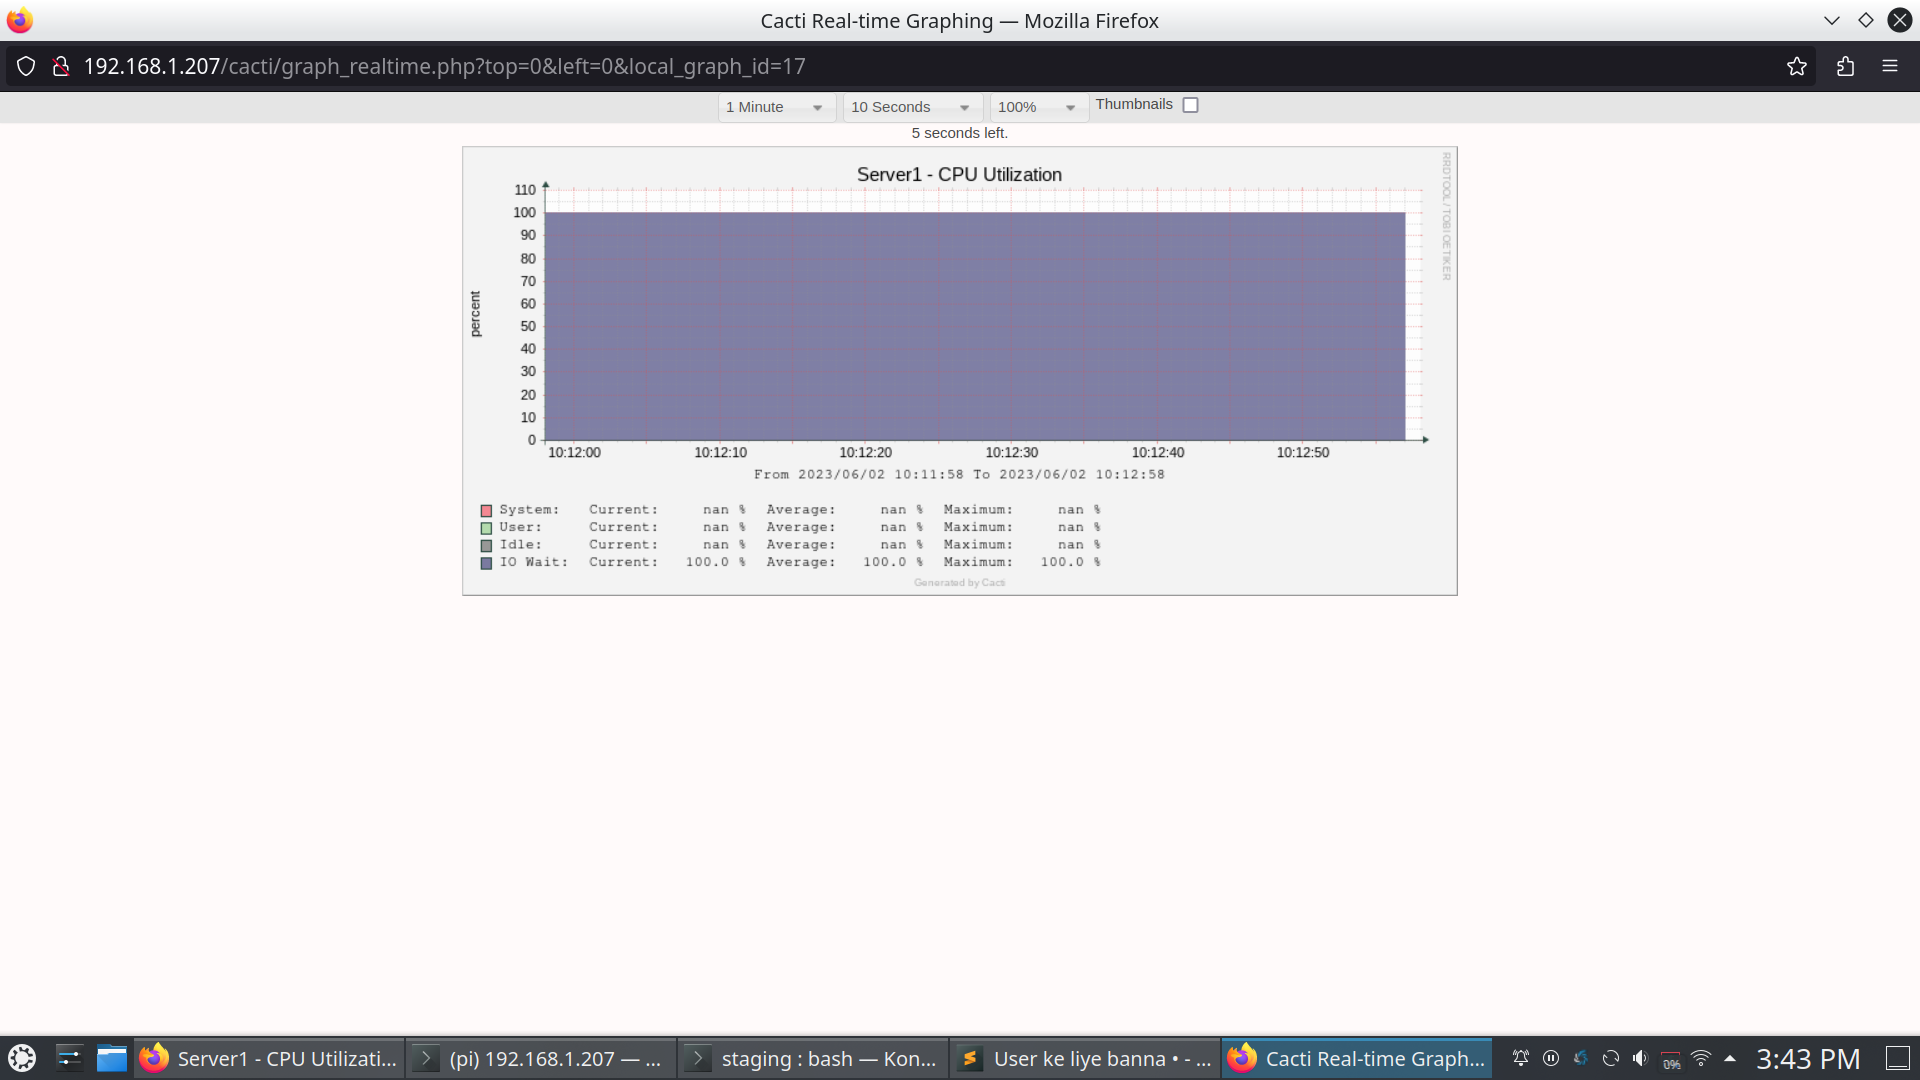
Cacti will now start collecting data from the added server and display it in graphs and charts.


