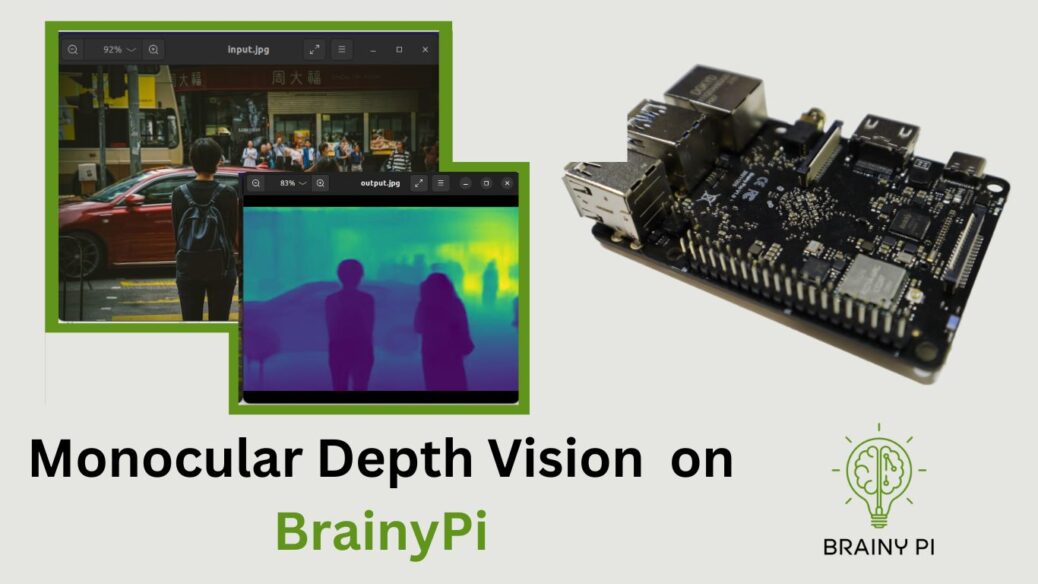
Monocular Depth Vision is an emerging field of computer vision that involves the estimation of depth information from a single image. With the help of Monocular Depth Vision, it is possible to capture the 3D information of the environment with just a single RGB camera. In this blog post, we will explore how to implement Monocular Depth Vision on the Brainy Pi platform using the MiDaS (Mixed Depth and Stereo) neural network.
Install Dependencies
pip install timm
The first step in implementing Monocular Depth Vision on Brainy Pi is to install the required libraries. For this project, we need to install the timm library using pip. Once we have installed the library, we can proceed with importing the required libraries. We need to import the OpenCV library for image processing, the PyTorch library for loading and running the MiDaS model, and the matplotlib library for displaying the results.
import cv2
import torch
import urllib.request
import matplotlib.pyplot as plt
import matplotlib.pyplot as plt
Next, we need to load the MiDaS model and the required transformer for resizing and normalizing the input image. We can choose between different versions of the MiDaS model depending on our requirements, with the large model being the most accurate but slowest, and the small model being the fastest but least accurate. Once we have loaded the model and the transformer, we can move the model to the GPU if available and set it to evaluation mode.
To use the Monocular Depth Vision on a specific image, we need to load the image and convert it to the RGB color space. Then, we need to apply the transformer to the image and move it to the GPU if available. We can then perform the prediction using the loaded model and save the output to a file. Finally, we can display the input and output images using the matplotlib library.
img=cv2.imread('dog.jpg')
img = cv2.cvtColor(img, cv2.COLOR_BGR2RGB)

input_batch = transform(img).to(device)
Deploy application on Brainy Pi
To deploy the Monocular Depth Vision on Brainy Pi, we can clone the repository from Github and navigate to the monocular-est directory using the terminal. We can then run the test.py script to test the implementation. The script will load the image and display the input and output images on the screen.
Run the following command on brainypi’s terminal
git clone https://github.com/brainypi/BrainyPi-AI-Examples.git
cd BrainyPi-AI-Examples/Pytorch/monocular-est
python test.py


