Wireless technology, including wireless printer, has been the most remarkable development in home printing in recent years. Fewer cords and more freedom to place your printer make this a win-win situation. Unless you still use a dated printer. Lets make a wireless printer with Brainy pi – Raspberry pi Alternative.
Even though new printers are reasonably priced, you may have already spent too much on your previous one. However, your outdated printer can also have a unique feature that makes it too pricey to replace.
The answer? Wireless printer. There are several options, but one well-liked method is to utilize your Brainy Pi as a wireless printer.
So in this blog, let us make our outdated, dull printer into something fun. All you need is a Brainy Pi and some software (CUPS). So instead of having the printer attached directly to one computer, the program enables you to move it wherever you choose and make it available to numerous PCs as a wireless printer.
Required Components to Set Up Wireless Printer on Brainy pi:
You will need the following to set up Wireless Printer with Brainy Pi:
-
-
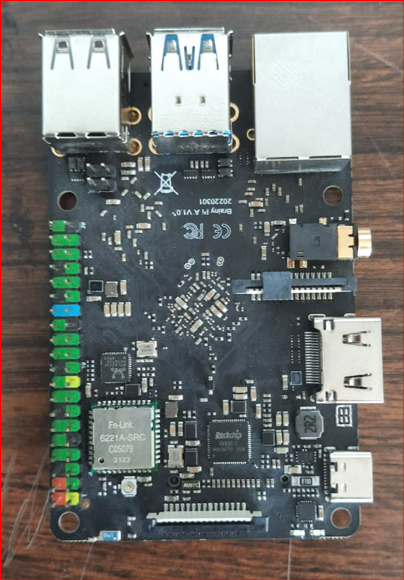
Brainy Pi
-
-
-
Ethernet/ WIFI
-
-
-
Keyboard and mouse for USB
-
-
-
Micro SD card
-
Step 1: Upgrade Your System
You should check to see if your Brainy Pi packages are up to date. To install any new software, updating and upgrading the device is essential.
Installed, start your Pi, then type the following in the Terminal
Step 2: CUPS Installation on Brainy pi
1. Run the command to install CUPS (dependency for wireless printer)
2. The pi user has to be added to the lpadmin group as soon as the installation is complete.
3. Making CUPS available throughout your whole network will help to guarantee that it functions properly on your home network. Use the instruction.
4. You can now search for “Cups printer server.”
5. By using the command, you will learn the IP address.
Step 3: Configuring SAMBA for the Brainy Pi for Wireless Printer Server
Setting up SAMBA correctly is crucial if you wish to utilize your wireless printer with Windows.
1. For SAMBA to function correctly and use the CUPS print drivers, we must install it and make a few configuration adjustments.
Use the command to install SAMBA.
2. sudo apt install, use the command to open the nano text editor file now.
Add or modify the following lines at the bottom.
3. Use the command to restart SAMBA so that it will load in our updated settings.
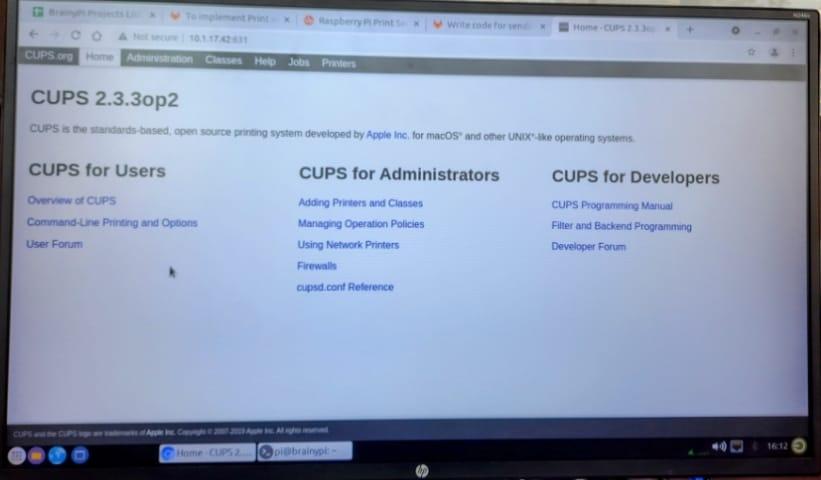
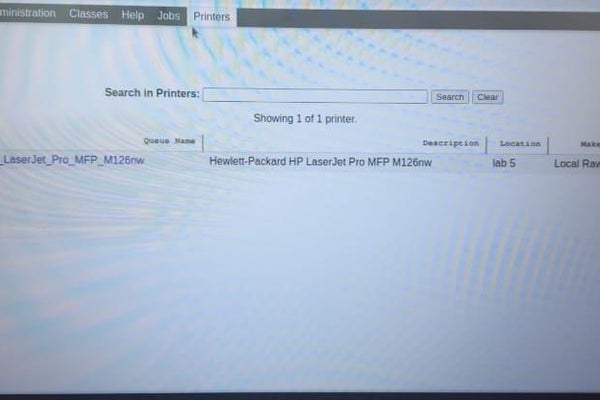
You may use search to find the web interface for your wireless printer.
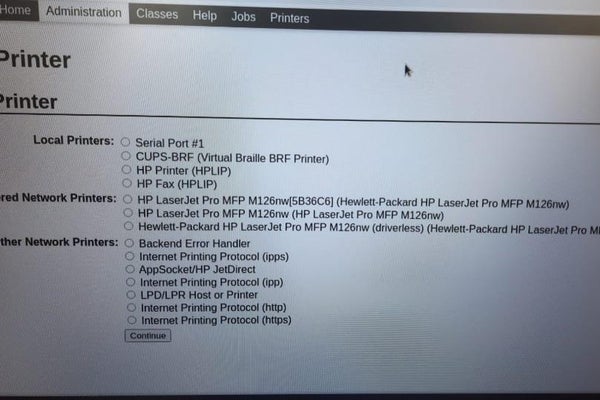
After the home page loads, you must then select Administration.


