Jenkins is a free and open-source server that may be used to streamline software development processes. In addition, the program may manage both continuous integration and continuous delivery (CICD). The purpose of this blog is to run Jenkins on Brainy pi – Raspberry pi Alternative.
Brainy Pi users may quickly set up Jenkins on their hardware by following the steps outlined. In addition, you will be able to submit PHP scripts and easily compile tiny ARM programs.
Required Components for Running Jenkins:
You will need :
-
-
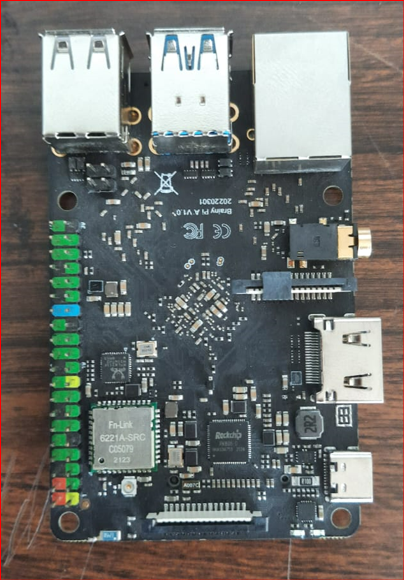
Brainy Pi
-
-
-
Ethernet/ WIFI
-
-
-
Keyboard and mouse for USB
-
-
-
SD card/hard drive
-
Step 1: Java Installation
You should check to see if your Brainy Pi packages are up to date. To install any new software, updating and upgrading the device is essential.
Installed, start your Pi, then type the following in the Terminal
Jenkins is based on Java. So, we need to set up a Java Runtime Environment.
1. Use the command to set up Java
2 Use the command to see if the Java installation is complete.
Hence, the successful installation of Java on brainy is complete.
Step 2: Getting Brainy pi Ready
1. The Jenkins repository key must be added to the Pi’s key chain before installation can begin.
2. The next step is to include the repository in our sources list.
We will use the following command to create a file named “Jenkins. list” in the “/sources.list.d/” directory to achieve this.
3. Insert the following into the document. The reference to the Jenkins repository is specified here.
When you are through making changes, hit CTRL + X, Y, and ENTER to save your work.
4. Do a single command-line system update.
5. The command is used to set up Jenkins.
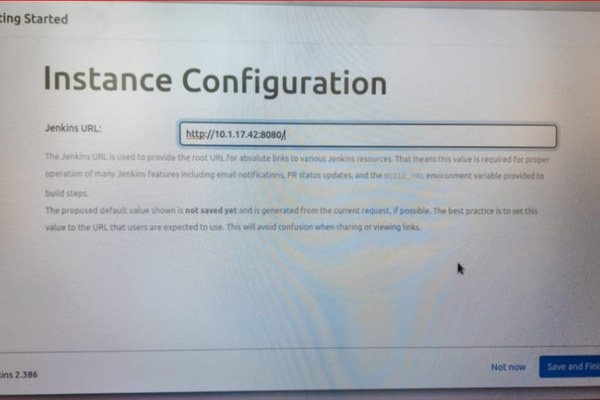
Step 3: Web Interface Brainy pi for Jenkins
The Brainy Pi’s IP address is required to access the web interface.
1. Use the ip address command to determine your Pi’s IP address.
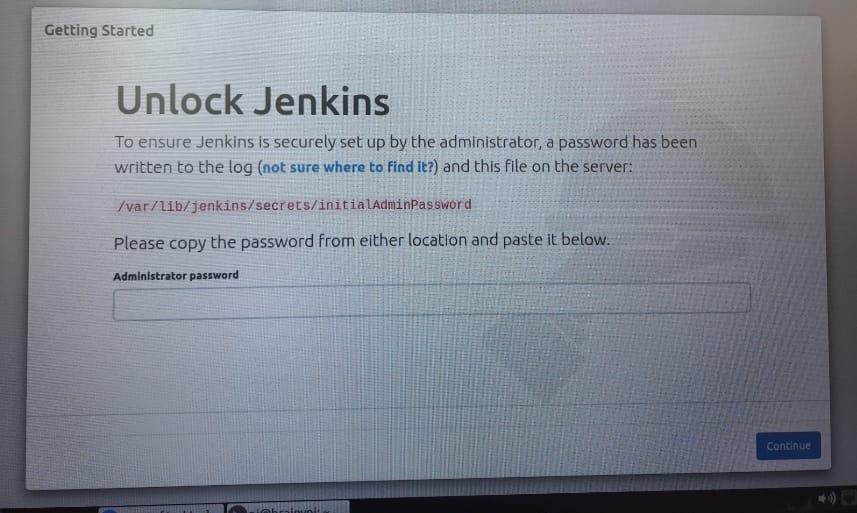
2. Reset the administrator password.
It will be in the format of
3. Type the address into your web browser’s search
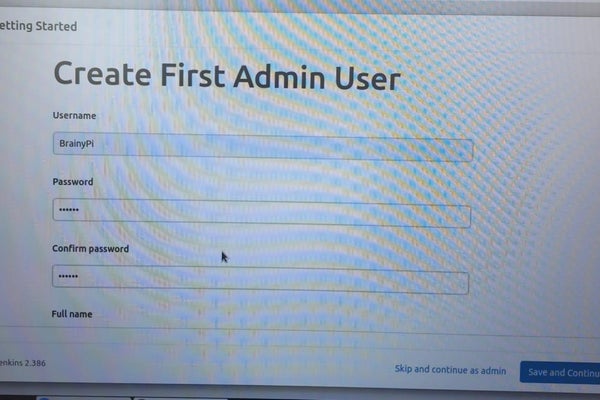
This will launch Jenkins’s web-based user interface.


