Brainy Pi

Available to select audience (currently beta)

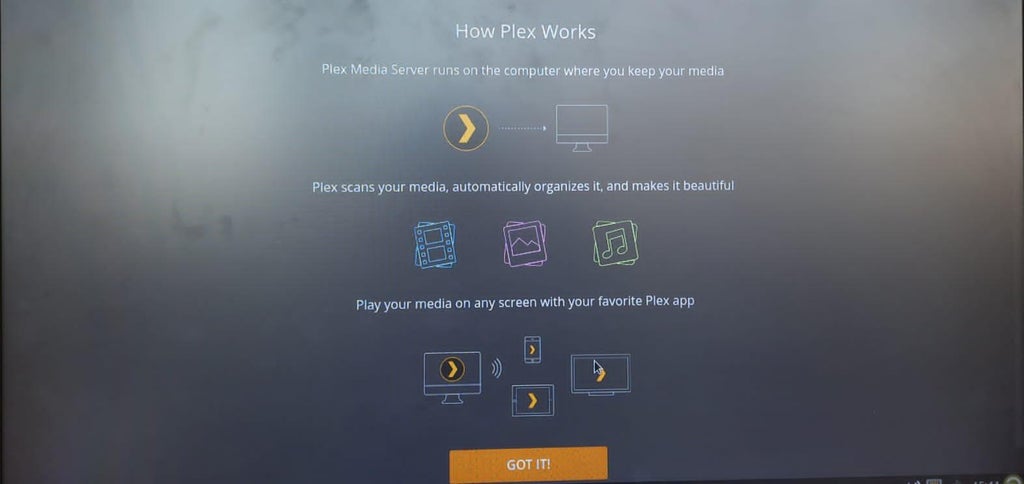
You can easily access images, a library, films, or any other material using the Plex Media Server installed on Brainy pi – Raspberry pi Alternative. Plex Media is a popular streaming media server that lets you organize your video, music, and photo collections and stream them to all your devices anytime and anywhere. It provides unrestricted, untethered access to your media collection.
Brainy Pi can be used in many different projects. One of Brainy pi’s most popular use cases is to turn them into a home media center.
The purpose of this blog is to describe Plex Media Server Installation on Brainy Pi allowing unrestricted access to your media collection without being tethered. Continue reading the blog…..
Site: Plex Media Server

Required Components to Install Plex Media on Brainy Pi:

You will need the following to install Plex Media on Brainy Pi:
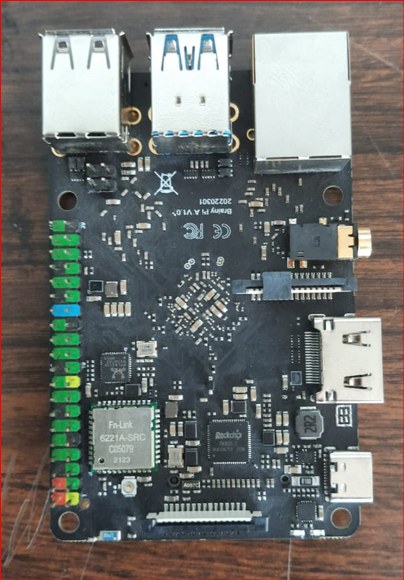
    • Brainy Pi
    • Ethernet/ WIFI
    • Media files on an external HDD or USB flash drive
    • Keyboard and mouse for USB

STEP 1: Upgrade Your System

Do you need assistance with the Brainy Pi operating system installation? If you’re computer literate, the regular Pi installation tutorial should get you through.
To install any new software, it’s essential to update and upgrade the device.
Installed, start your Pi, then type the following in the Terminal
sudo apt update
sudo apt upgrade
 

STEP 2: Getting Brainy pi Ready for Plex Media Server

1. Before Installing the Plex packages to the Brainy Pi, we have to add the official Plex package repository.
sudo apt-get install apt-transport-https

2. Now, add the Plex repositories to the “apt” keyrings’ directory. This key ensures that the files you are downloading are from that repository and signed by that key. You can do that by the command.
curl https://downloads.plex.tv/plex-keys/PlexSign.key | gpg –dearmor | sudo tee /usr/share/keyrings/plex-archive-keyring.gpg >/dev/null
3.  After adding the Plex GPG key, we can finally execute the command to add the official Plex repository to the sources list.
echo deb [signed-by=/usr/share/keyrings/plex-archive-keyring.gpg] https://dow nloads.plex.tv/repo/deb public primary | sudo tee /etc/apt/sources.list.d/plexmed iaserver.list
4. As we have just added a new repository to our sources, we will need to run the “update” command again to refresh the package list.
sudo apt-get update
5. Now, finally, we can install the plex server by using the command
sudo apt install plexmediaserver

STEP 3: Web Interface on Brainy pi

So, you’ve set up the Plex Media server, but it’s not ready to go live. As a first step, you’ll need to modify the software’s default username; next, you’ll need to set a static IP address.
1. To access the web interface, you must get your Brainy Pi’s IP address; to get the IP address, you can use the command.
hostname -I
Suppose you get multiple IP addresses. You don’t need to worry. That is because you have not set a static IP address. Instead, you can use any one of the IP addresses.
2. Now go to your favorite browser and search for
IPADDRESS:32400/web/
3. You can add the files and libraries by going to option {Add library}
4. Once you add the library, it will now organize your clips in an excellent easy to browse interface.
5. You can explore the web interface on your own now, and you will get to know more features of the Plex Media Server

Endnotes:

Get Plex Media ready to play your videos. It’s most straightforward, of course, to turn on the TV. However, you’ll need a Plex Media mobile app if you plan on watching films while moving about the house.
When you download the app from Google Play or App Store for Android or iOS and login in with the same credentials you used on the server, your gadgets will sync up. After that, you must search Plex for anything to watch, choose it, and press play. Enjoy your plex server with Brainy Pi – Raspberry pi Alternative.
REFERENCE: Plex Media Server Installation

0 Comments

Leave a reply

Your email address will not be published. Required fields are marked *

*