Welcome to the Brainy Pi AI API Examples blog, where we’ll delve into the world of computer vision and demonstrate the power of the Brainy Pi AI REST server. This blog is tailored for developers and entrepreneurs looking to harness the capabilities of AI and computer vision to build innovative products. In this example, we’ll focus on the fascinating task of implementing face detection API on Brainy Pi.
Introduction to Brainy Pi AI API
The Brainy Pi AI API opens the door to a wide array of computer vision tasks, including face detection, face recognition, object detection, pose estimation, and image classification. Whether you’re creating a security system, a personalized marketing tool, or a smart home device, BrainyPi AI API has the tools you need to bring your vision to life.
Installation
Before we dive into the face detection demo, let’s ensure you have the Brainy Pi AI REST server installed on your Brainy Pi running Rbian v0.7.3-beta. If you haven’t already installed it, follow these simple steps:
Open your terminal and run the following command:
sudo apt install brainypi-ai-server
With the Brainy Pi AI REST server up and running, we’re ready to proceed to the next steps.
Setting Up the Demo for Face Detection API on Brainy Pi
Let’s walk through setting up the Face Detection Demo using the Brainy Pi AI API. We’ve provided a collection of example applications to make your journey smoother.
Step 1: Clone the Repository
First, clone our example repository to your local machine with the following command:
Ensure you have the necessary dependencies installed by running:
sudo apt install rapidjson-dev
Running the Face Detection Demo
Now that we have everything set up, let’s run the Face Detection Demo:
Navigate to the repository’s root directory:
cd brainypi-ai-api-examples
Build the examples by creating a build directory, running CMake, and compiling the source files:
mkdir build
cd buildcmake ../make
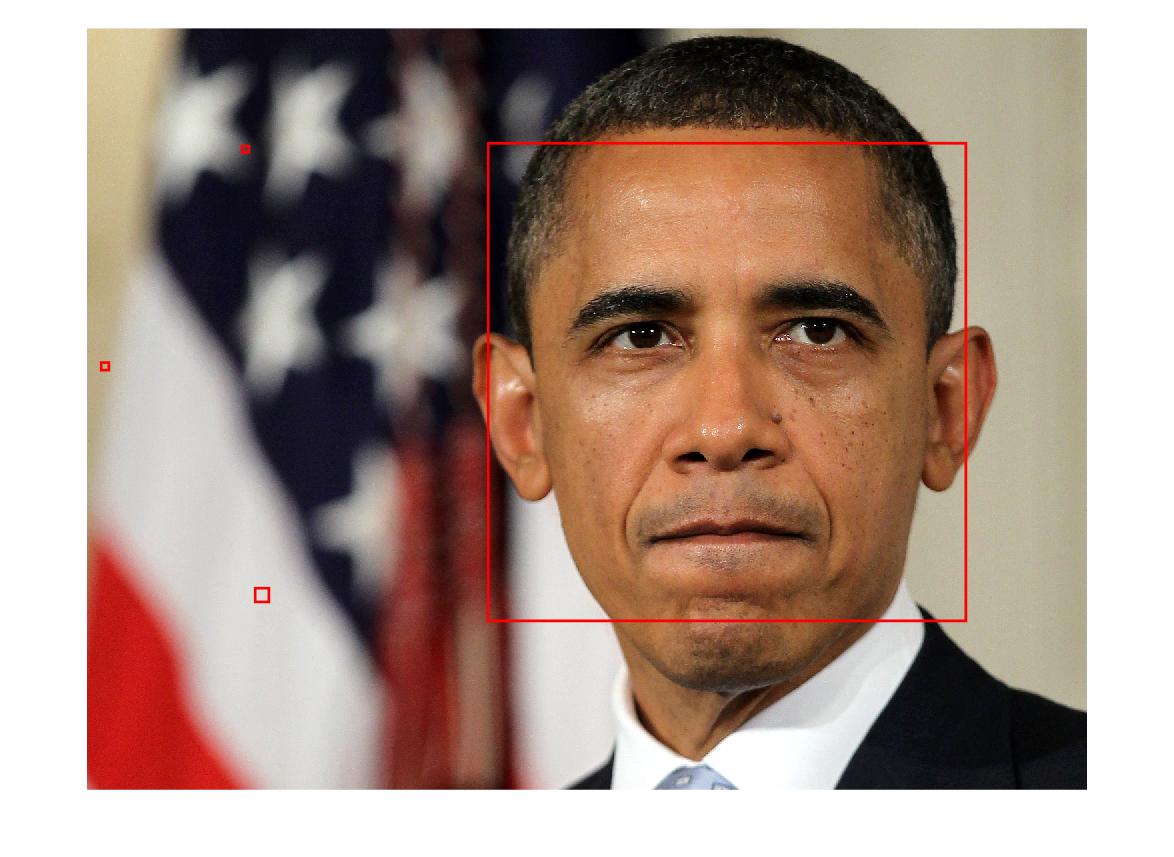
Once the compilation is complete, you can run the Face Detection Demo by executing the corresponding executable file:
./cpp/example_face_detection
Congratulations! You’ve successfully run the Face Detection Demo using the BrainyPi AI API. This demo showcases the powerful capabilities of AI and computer vision in identifying faces within an input image.
Explore and Customize
Feel free to explore the various examples in our repository and modify them to suit your unique requirements. Each example serves as a valuable resource for understanding how to interact with the Brainy Pi AI REST server for different computer vision tasks.
In conclusion, the Brainy Pi AI API empowers developers and entrepreneurs to harness the potential of AI and computer vision in creating cutting-edge products. Whether you’re building a smart security system, an intelligent marketing tool, or any other innovative solution, Brainy Pi AI API has you covered. Stay tuned for more exciting examples and tutorials to fuel your creativity!
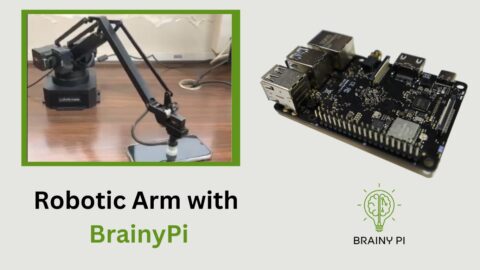
Robotic arms have revolutionized industries such as manufacturing, logistics, and healthcare, offering increased efficiency, precision, and automation. The uArm...

