Welcome to the Brainy Pi AI API Examples blog, where we’ll embark on a journey into the realm of computer vision. In this article, we’ll introduce you to the exciting world of object detection and demonstrate how Brainy Pi AI API can be your key to building innovative computer vision products. Whether you’re a developer or an entrepreneur with a vision, this blog is your gateway to turning your ideas into reality with object detection API on Brainy Pi.
Discover Brainy Pi AI API
The Brainy Pi AI API Examples repository is your treasure chest of knowledge and inspiration. It offers a curated collection of example applications that showcase the boundless potential of the Brainy Pi AI REST server. From recognizing faces to identifying objects, and from estimating poses to classifying images, the Brainy Pi AI API covers a wide spectrum of computer vision tasks.
Getting Started: Installation
Before we delve into the world of object detection, let’s ensure you have the Brainy Pi AI REST server up and running on your Brainy Pi, specifically running Rbian v0.7.3-beta. If you haven’t done so yet, don’t worry; we’ve got you covered. Follow these straightforward installation steps:
Open your terminal on the Brainy Pi and execute the following command:
With the Brainy Pi AI REST server in place, we’re all set to dive deeper into the world of computer vision.
Setting Up the Demo for Object Detection API on Brainy Pi
Let’s roll up our sleeves and get started with the Object Detection Demo using the Brainy Pi AI API. We’ve designed this demo to be both informative and practical, providing you with hands-on experience.
Step 1: Clone the Repository
Begin by cloning our example repository to your local machine. This will give you access to a treasure trove of example applications that highlight the capabilities of Brainy Pi AI API:
Step 2: Install Dependencies
To ensure everything runs smoothly, install the necessary dependencies by executing:
Running the Object Detection Demo
Now that we have everything set up, let’s dive into the Object Detection Demo:
Navigate to the root directory of the cloned repository:
Let’s build the examples. Create a build directory, run CMake, and compile the source files:
Once the compilation process is complete, you’re ready to run the Object Detection Demo. Execute the corresponding executable file:
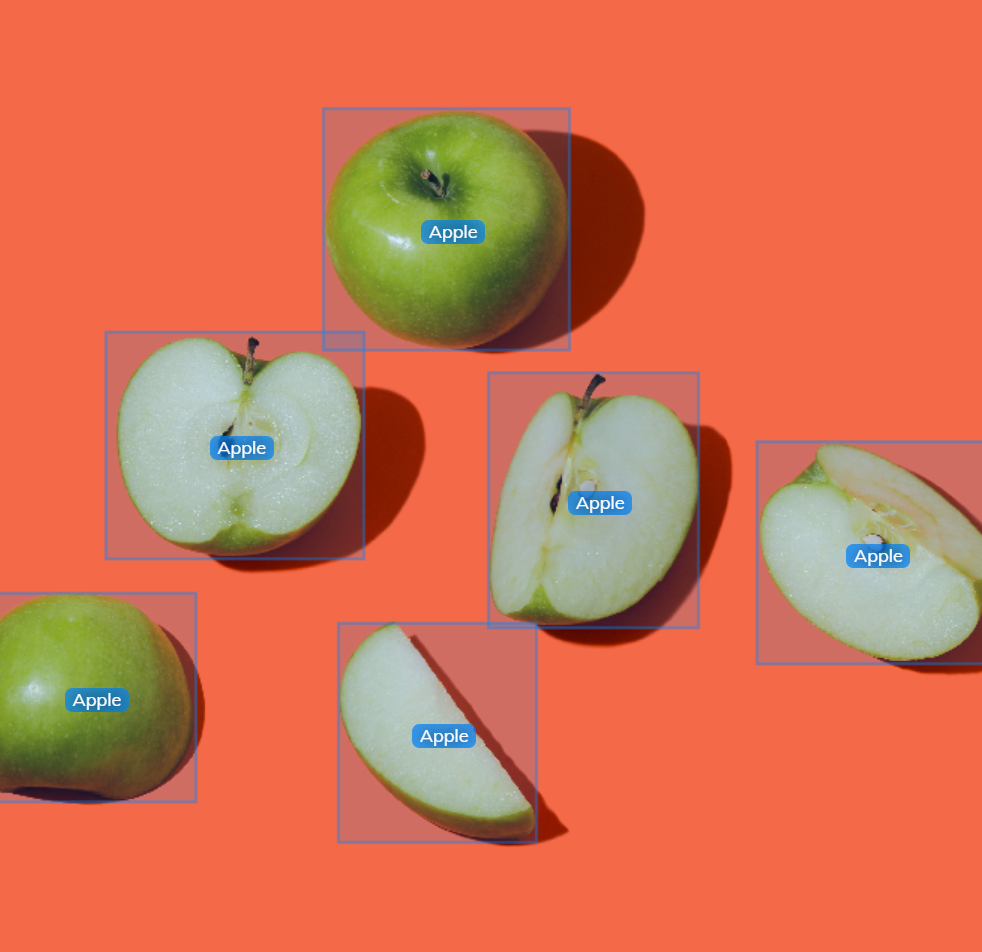
Voilà! You’ve just experienced the magic of object detection powered by the Brainy Pi AI API. Witness how AI and computer vision can identify objects within an input image with precision and efficiency.
Explore and Customize
We encourage you to explore the other examples in our repository and tailor them to meet your specific needs. Each example serves as a valuable resource, offering insights into interacting with the Brainy Pi AI REST server for various computer vision tasks.
In conclusion, the Brainy Pi AI API empowers developers and entrepreneurs alike to harness the potential of AI and computer vision. Whether you dream of building a smart security system, a revolutionary marketing tool, or any other innovative solution, the Brainy Pi AI API is your trusted companion. Stay tuned for more exciting examples and tutorials to fuel your creativity and bring your computer vision products to life!


