Welcome to the Brainy Pi AI API Examples blog, where we embark on an exciting journey into the world of artificial intelligence and computer vision. In this article, we will introduce you to the fascinating realm of image classification and show you how the Brainy Pi AI API can be your gateway to building groundbreaking computer vision products. This blog is tailor-made for developers and entrepreneurs with a vision to innovate with image classification API on Brainy Pi.
Explore Brainy Pi AI API
The Brainy Pi AI API Examples repository is your one-stop destination for unlocking the potential of computer vision. Here, you’ll find a curated collection of example applications that vividly showcase the capabilities of the BrainyPi AI REST server. From identifying faces to detecting objects, and from estimating poses to the task we’ll focus on today—image classification—the BrainyPi AI API opens up a world of possibilities.
Getting Started: Installation
Before we delve into the captivating world of image classification, ensure you have the Brainy Pi AI REST server installed on your Brainy Pi, specifically running Rbian v0.7.3-beta. If you haven’t installed it yet, worry not; we’ve got you covered. Follow these straightforward installation steps:
Open your terminal on the Brainy Pi and execute the following command:
sudo apt install brainypi-ai-serverWith the Brainy Pi AI REST server installed and ready to go, we can proceed to the next step.
Setting Up the Demo for Image Classification API on Brainy Pi
Let’s roll up our sleeves and dive into the Image Classification Demo using the Brainy Pi AI API. This hands-on experience will not only showcase the technology but also empower you to harness it effectively.
Step 1: Clone the Repository
Begin by cloning our example repository to your local machine. This repository is your treasure trove of example applications that highlight the capabilities of the Brainy Pi AI API:
git clone https://github.com/brainypi/brainypi-ai-api-examples.git
Step 2: Install Dependencies
Ensure everything runs smoothly by installing the necessary dependencies. Execute the following command:
sudo apt install rapidjson-devRunning the Image Classification Demo
Now that we have everything set up, let’s dive into the Image Classification Demo:
Navigate to the root directory of the cloned repository:
cd brainypi-ai-api-examples
Build the examples by creating a build directory, running CMake, and compiling the source files:
mkdir build
cd build
cmake ../
make
Once the compilation process is complete, you’re ready to run the Image Classification Demo. Execute the corresponding executable file:
./cpp/example_image_classification
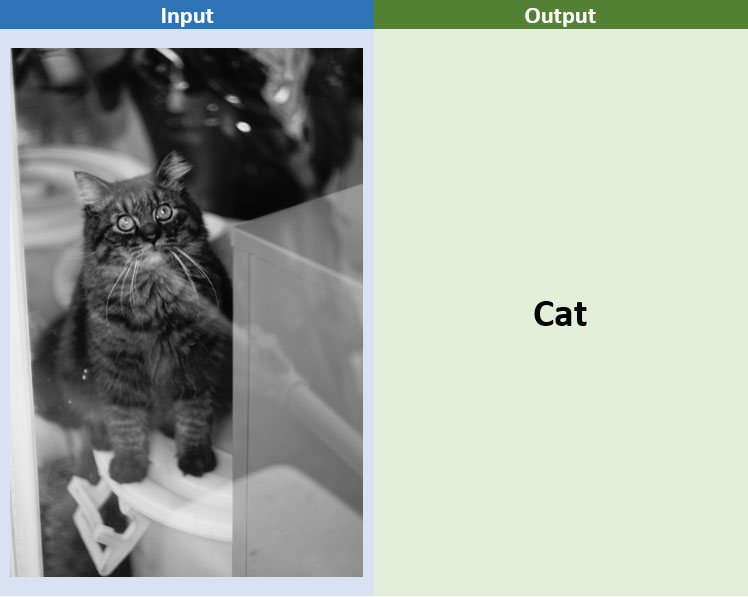
Congratulations! You’ve just experienced the magic of image classification powered by the Brainy Pi AI API. Witness how AI and computer vision can analyze and classify images with remarkable accuracy.
Explore and Customize
Don’t stop here. Dive deeper into our repository and explore the other examples. Tailor them to your unique requirements and discover the immense potential of Brainy Pi AI API for various computer vision tasks.
In conclusion, the Brainy Pi AI API empowers developers and entrepreneurs to turn their visions into reality. Whether you dream of building a cutting-edge security system, an innovative marketing tool, or any other revolutionary product, the Brainy Pi AI API is your trusted ally. Stay tuned for more exciting examples and tutorials to fuel your creativity and bring your computer vision products to life!
