Introduction:
Home automation has become increasingly popular in recent years, offering homeowners the ability to control various aspects of their home from a single, centralized platform. One of the most popular platforms for home automation is Home Assistant, an open-source software that allows users to manage their smart home devices and set up automations and routines. In this tutorial, we’ll walk you through the process of installing Home Assistant with Brainy Pi, a popular single-board computer that can be used for a variety of applications.
Outline:
-
Pre-requisites
-
Installing Docker on Brainy Pi
-
Installing Home Assistant using Docker
-
Setting up Home Assistant
-
Using Home Assistant
Pre-requisites:
-
Brainy Pi with a compatible operating system (such as Rbian).
-
Basic knowledge of the command line interface and Docker.
-
A stable internet connection.
-
Sufficient storage space for the Home Assistant installation and its data.
Installing Docker on Brainy Pi:
-
Open the terminal on your Brainy Pi.
-
Update the package lists by running the following command:
-
Install Docker by running the following command:
-
Verify the installation by running the following command:
Installing Home Assistant using Docker:
-
Pull the Home Assistant Docker image by running the following command:
-
Create a container for Home Assistant by running the following command:
-
Verify that Home Assistant is running by running the following command:
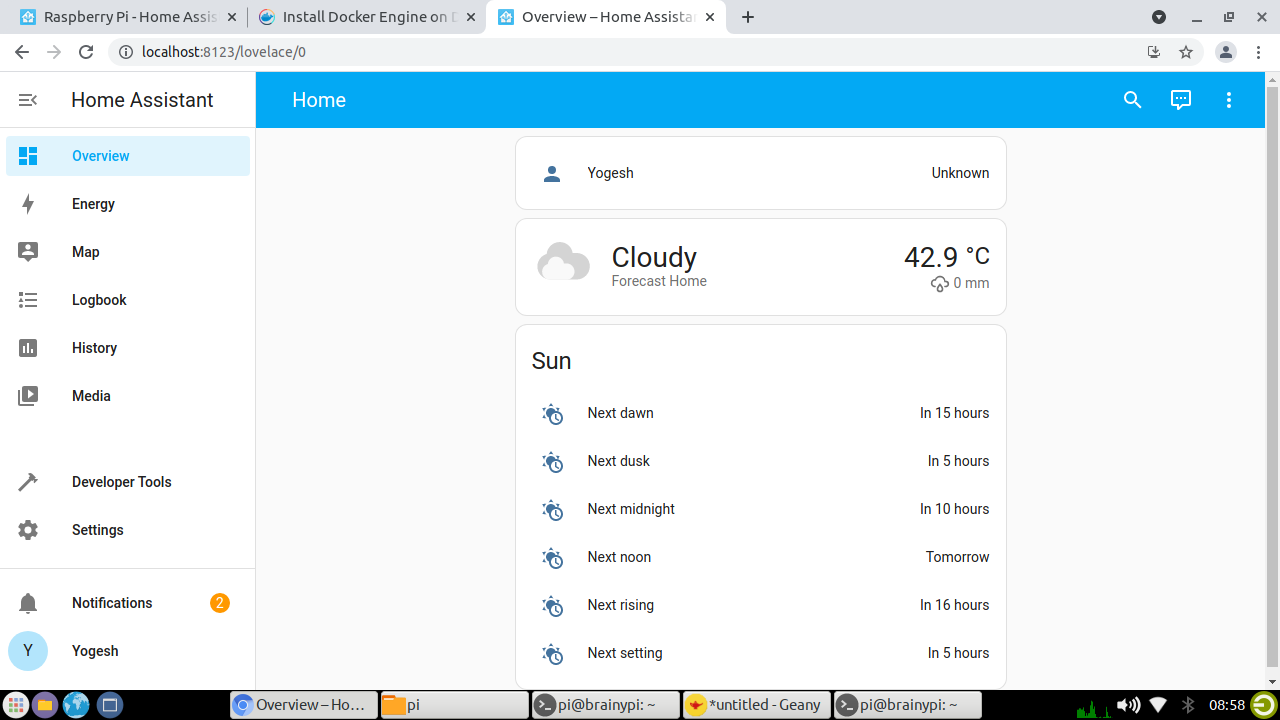
Setting up Home Assistant:
-
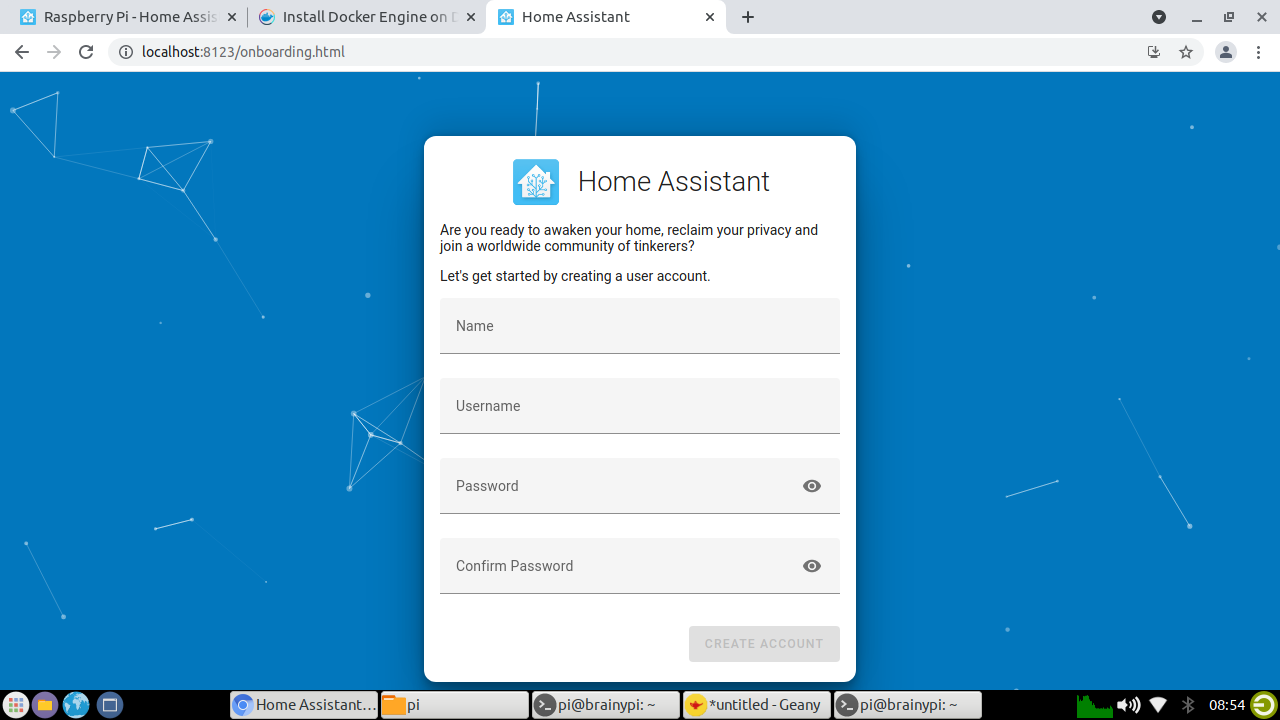
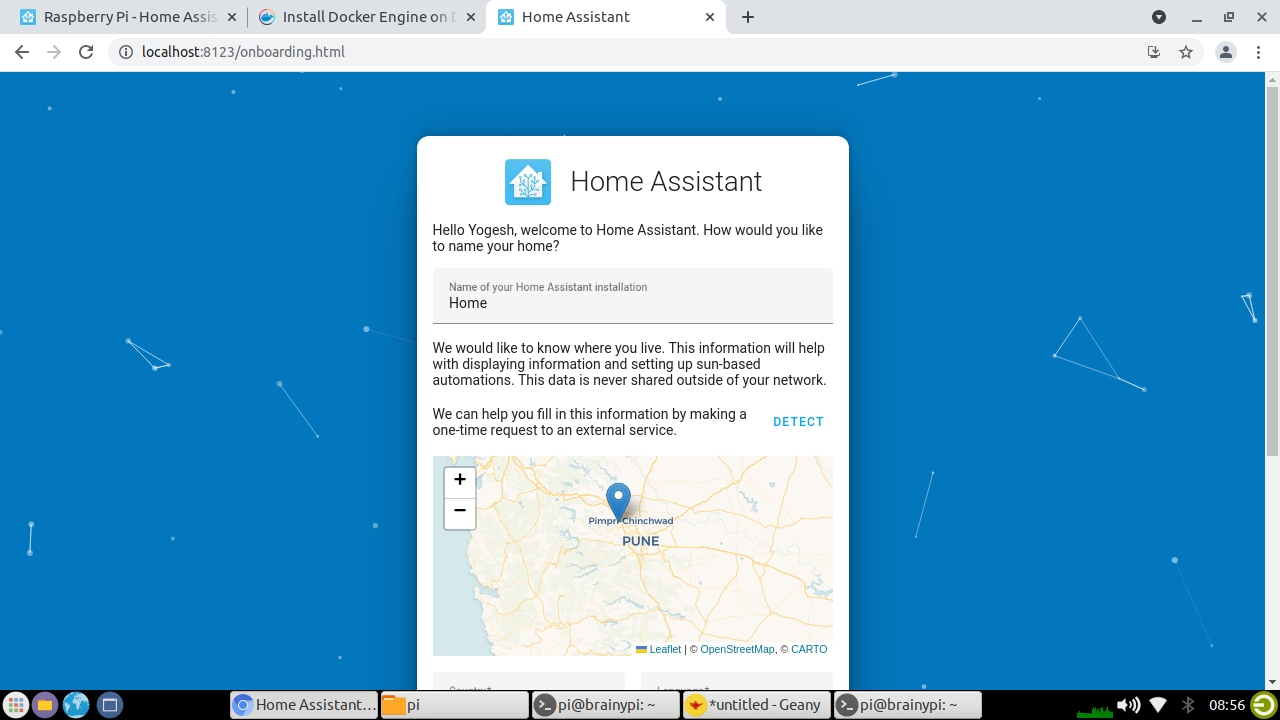
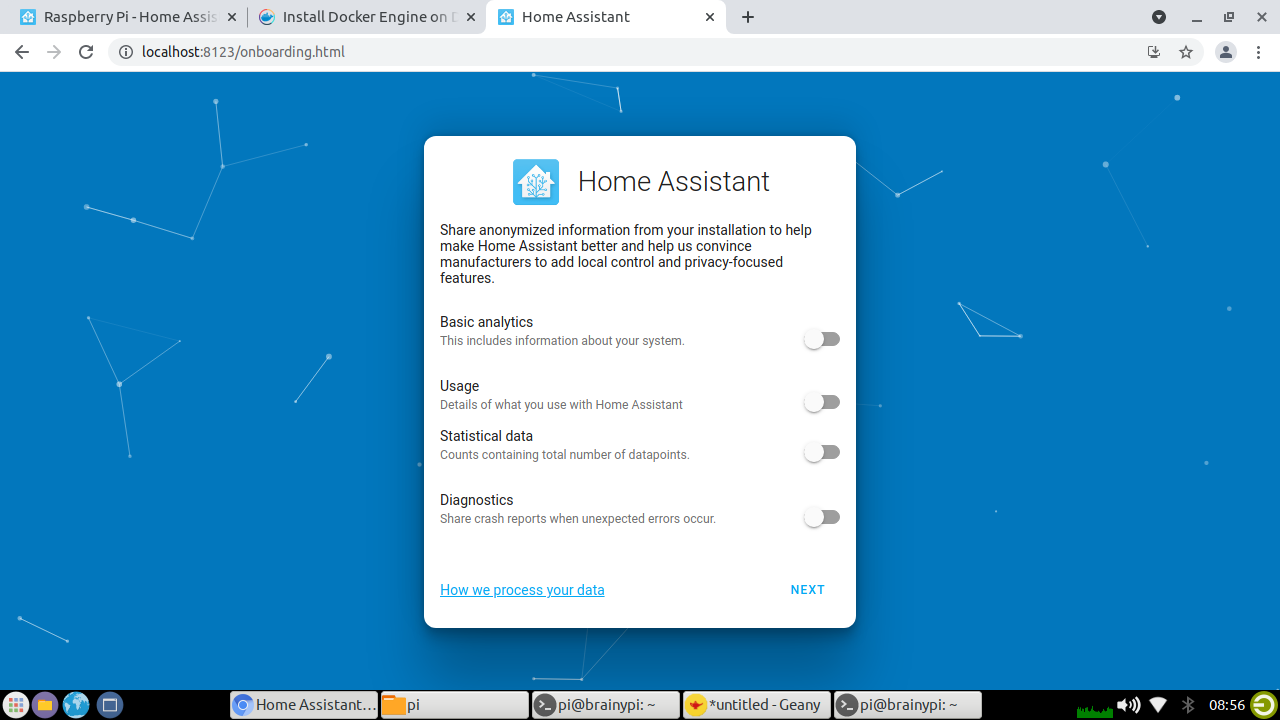
Access Home Assistant by opening a web browser and entering the IP address of your Brainy Pi, followed by “:8123”. If you are using the built-in browser of Brainy Pi then you can access the page at
localhost:8123
-
Follow the setup wizard to create an account, configure the network settings, and add any integrations or devices you want to control.

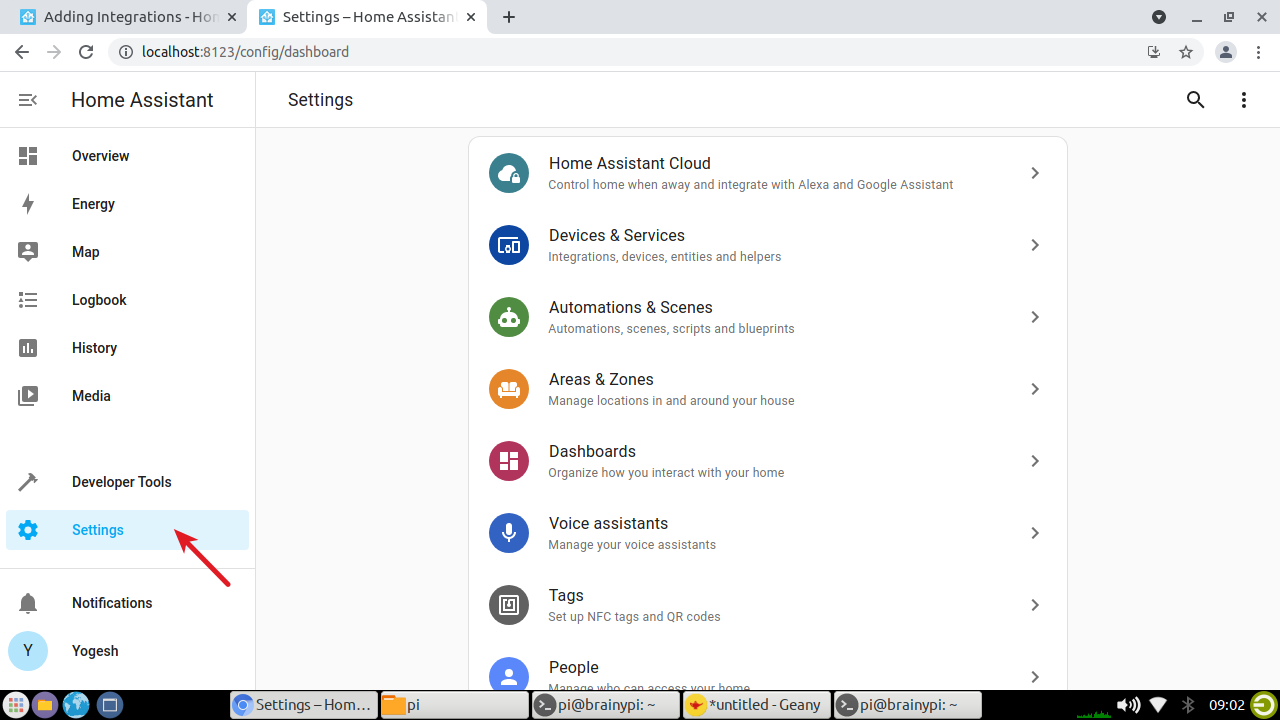
Using Home Assistant with Brainy Pi:
-
Once set up, you can use Home Assistant to control your home automation devices and set up automations and routines.
-
You can access Home Assistant via the web interface or through the Home Assistant mobile app.
-
Explore the Home Assistant documentation and community to learn more about customizing and expanding your Home Assistant installation.
