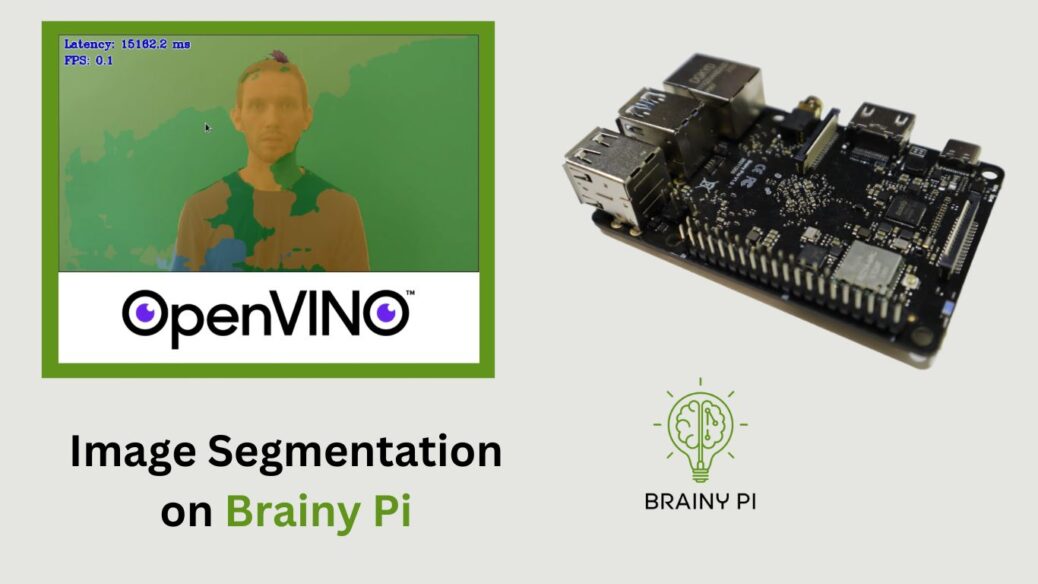
Today’s blog post will explore the robust capabilities of OpenVINO (Open Visual Inference and Neural Network Optimization) in image segmentation. We’ll showcase a demo that leverages OpenVINO on Brainy Pi, combining AI and computer vision to segment video frames. This blog targets developers and entrepreneurs interested in building computer vision products with OpenVINO. Let’s dive into implementing image segmentation on Brainy Pi!

Installing OpenVINO
Before we dive into the demo, we need to install OpenVINO and its dependencies on BrainyPi. Let’s start by opening a terminal and running the following command:
sudo apt install openvino-toolkit libopencv-devThis command will install OpenVINO and the necessary OpenCV development files on your system, providing the foundation for our image segmentation demo.
Compiling the Demos
Once OpenVINO is successfully installed, we can proceed to compile the demos. These demos serve as an excellent starting point for understanding and exploring the capabilities of OpenVINO. Here are the steps to compile the demos:
Set up the OpenVINO environment by sourcing the
setupvars.shscript:source /opt/openvino/setupvars.sh
Clone the Open Model Zoo repository, which contains the demos, by executing the following command:
git clone --recurse-submodules https://github.com/openvinotoolkit/open_model_zoo.git
cd open_model_zoo/demos/
Build the demos by running the
build_demos.shscript:./build_demos.sh
These steps will compile the demo applications. It will make them ready for execution and enabling us to dive into the exciting world of image segmentation with OpenVINO.
Running the Image Segmentation on Brainy Pi
With the demos successfully compiled, we can now proceed to download the required models and run the image segmentation demo using OpenVINO. Let’s follow the steps below:
Download the models required for the demo by running the following command:
omz_downloader --list ~/open_model_zoo/demos/segmentation_demo/cpp/models.lst -o ~/models/ --precision FP16
This command downloads the necessary models from the Open Model Zoo repository and saves them in the
~/models/directory on your system.Download a test video to feed into the demo. We will use the following command to download a sample video:
cd ~/
wget https://raw.githubusercontent.com/intel-iot-devkit/sample-videos/master/head-pose-face-detection-male.mp4
Once the models and the test video are downloaded, we can run the image segmentation demo using the following command:
~/omz_demos_build/aarch64/Release/segmentation_demo -i ~/head-pose-face-detection-male.mp4 -m ~/models/intel/semantic-segmentation-adas-0001/FP16/semantic-segmentation-adas-0001.xml
This command executes the image segmentation demo, processing the frames of the test video and producing segmented output based on the downloaded model.


